How to Center and Re-size Blog Images In Your Sidebar. A step-by-step tutorial for the everyday blogger who doesn’t want technical jargon.
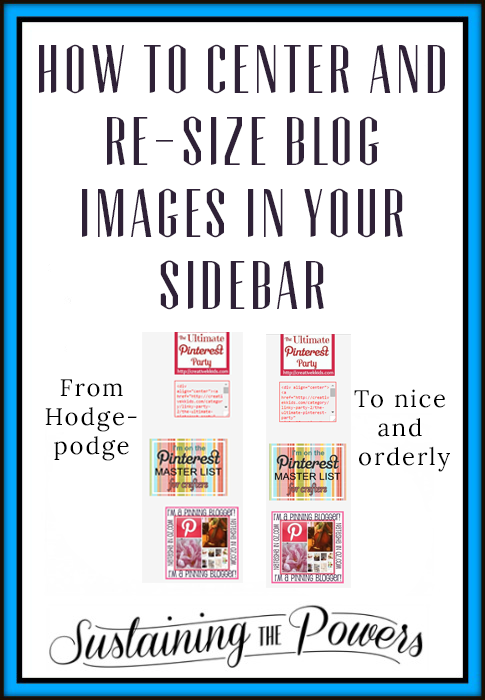
After you’ve been blogging for a while, you tend to collect a lot of “buttons” for various things. (Buttons are those little graphics advertising various link parties, blogging groups and networks, or other bloggers. I have a ton here on my link party page.) Here’s my button in case you want it:
The problem with collecting so many buttons is that they all tend to be different sizes, and some are aligned left, some center, and some right, so they tend to look a bit haphazard when you put them all together.
Here’s an example from a friend’s blog that I worked on a few months ago:
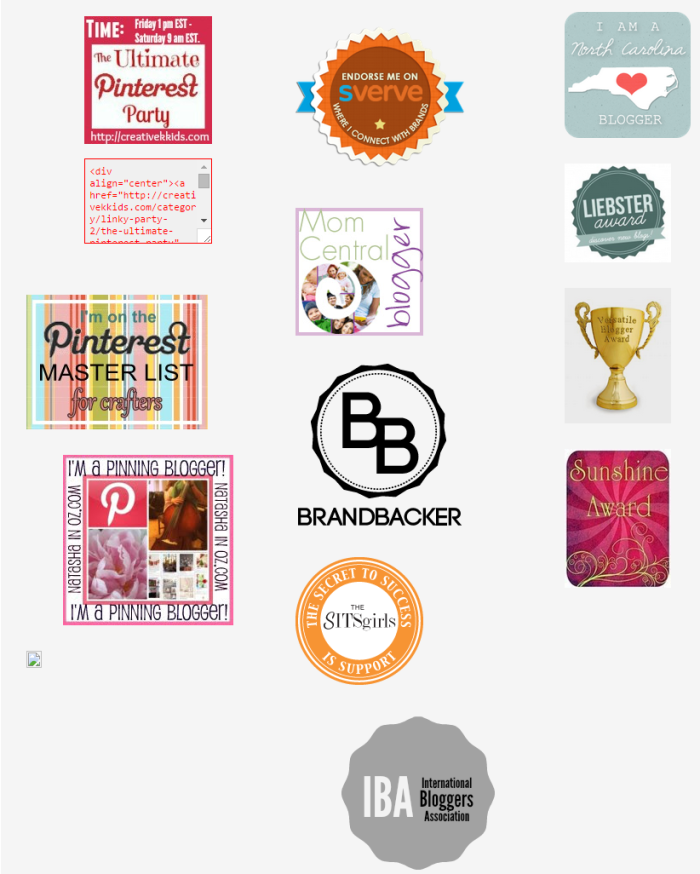
Now, it’s not horrible in the least, but visually, your eye can’t decide where to settle when you look at them, so they tend to look a bit chaotic.
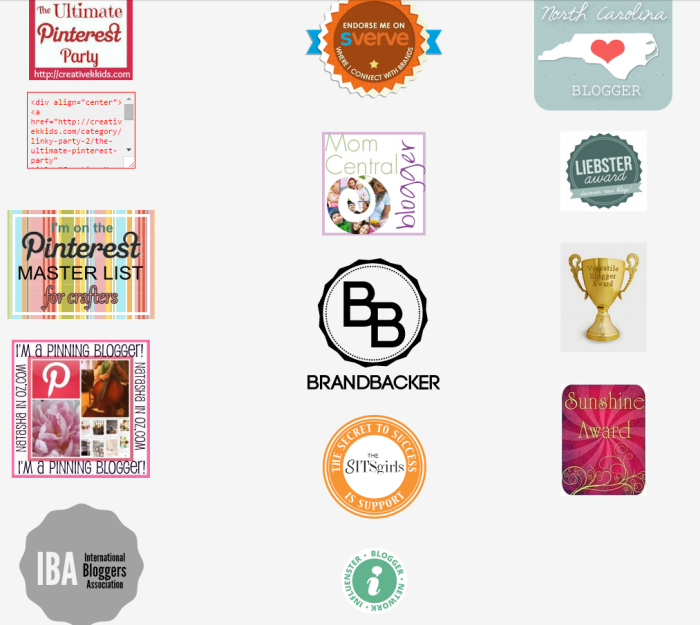
Here’s the same set of buttons all aligned to the center:
Doesn’t that same set of buttons look a million times better with that small change?! It’s crazy how much of a difference it makes and how much your eyes really prefer the second example. I really enjoy having all my ducks blog buttons in a row. Now, you can decide to align center, left, or right, but I prefer aligning center because it still looks great even if you have many buttons of different sizes.
So, here’s the part where I tell you that you have to write 2 tiny lines of code to make this happen. I promise you that it’s going to be super duper easy and I’m going to be very specific so you can do it too.
How to Center Button Images in Your Sidebar
1. Open up your text widget or the text editor tab on your edit post page and look for the code for the button you want to center.
The code for my blog button looks like this:

and makes this:
2. What you’ll be looking for are the html tags that contain “a” and “/a”. Tags are the things in between the angle quotes/sideways arrow things like this: < >.
Side note because I know you’re wondering: The “a” in this tag stands for “anchor” because the code is used to anchor a URL to the line of text you see on your web page. “href” that you usually see after the “a” stands for (H)ypertext (REF)erence. So all together, you’re anchoring a hypertext reference (URL) to the line of text to make what you see as a clickable link like this one. (That link goes to my valentine’s day candy making tutorial by the way.)
Here are the tags I’m talking about highlighted in the button code above:

They’re almost always at the beginning and end of the button code, so it’s not too hard to find.
3. Next we’re going to paste a few short bits of code before and after these tags. The code we want is:
before the first “a” and this code:
should go after the “/a”
Note: I have to use the code boxes above because if I actually type the code my blog post will think I want it to process the HTML and won’t show it to you anymore.
4. All together, the new code will look like this:

and makes this:
How to Change the Image Size Using HTML Code
1. Go to your HTML button code again and look for a tag that says “img” (See directions above if you don’t know what a tag is.)
Here’s my code with the”img” tag highlighted:

(“img” is short for image by the way.)
2. Insert the code for the new desired height and width immediately after “img”. Note that the size in quotes is measure in pixels.
Here’s the height code:
and the width code:
Here is what it looks like when I put it in the code. Be sure to leave the spaces between “img” “width” and “height” so it will work:

And here’s what my resulting image now looks like:



This is really helpful! I may need to change my Link Parties page and use these tips. Thanks for sharing!
Thanks Jenna! Glad I could help!
This is so helpful!! I was actually going to look up how to do this and then I saw your post! Thank you so much! 🙂
Glad I could help Gennie! It took me a while to figure out a way that worked every time with every blog since they’re so different, and there wasn’t a lot of info out there that was easy to understand, so I thought I should share the wealth!
hey i recognize that blog…..lol 🙂 thanks Stephanie for cleaning us up! Our blog looks sooo much better since your visit! And as a bonus if I add more things, I know how to keep it centered!
Yep! It’s you! I wasn’t sure you’d want me to pick on your blog “publicly”, so I left your name out, but I can add a shout-out to you in the post if you’d like. 🙂
This is excellent! Thanks for explaining and teaching visually! Stopping by from Hump Day Happenings and pinning to Pinterest!
Glad I could help you Carole! I think my past life as a high school teacher must be showing through with multiple learning styles. 🙂 Thanks for the pin!
Such a helpful post. Sidebars sure can get cluttered so it’s nice to be able to neaten them up a bit.
Thank you Holly!
You are awesome. I have been TRYING to figure this out, so I didn’t go live with a bunch of hodge-podge amateur looking craziness. Seriously, I think you have given me the final piece of the puzzle I DESPERATELY needed in order to take the plunge with my brand new baby blog. THANK YOU!! Plus, I pinned (I think) all the rest of your blogging tips for down the line when I am less overwhelmed with the learning. If I wait til I know how to do everything right, I may be an 80 yr old blogger, LOL!!! you are awesome to publish these super-helpful posts!
Haha. I saw the pin-a-thon. 🙂 I am SO glad they are helpful to you!! This one especially is tricky to sort out because you have to dig into the code. You can sign up for my blogging and photography tips newsletter over on my sidebar if you want to get my new ones in your inbox each week. 🙂
I can tell you as someone who is 5 years into blogging though, that you’ll never know how to do everything right, and there’s always room to learn something new about blogging. You kinda just take the plunge and swim alongside everyone else who also only sort of knows what they’re doing. 😉 Let me know if there’s something else you’d love to see a post on!
Thank you so much for this! It was exactly what I was looking for and you explained it so well. I did what I needed in a matter a seconds.
I’m so glad it worked well for you! It’s funny how something so simple can make such a difference.
Honestly, this is the only thing that actually worked for me. I have been trying to get my pictures to be in the center and I have tried everything, except this. Thank you so much. I saved your website and will scroll around to get more helpful tips.