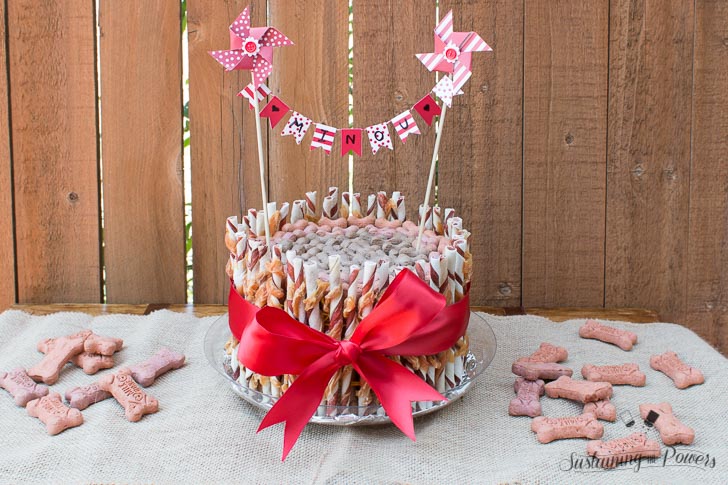
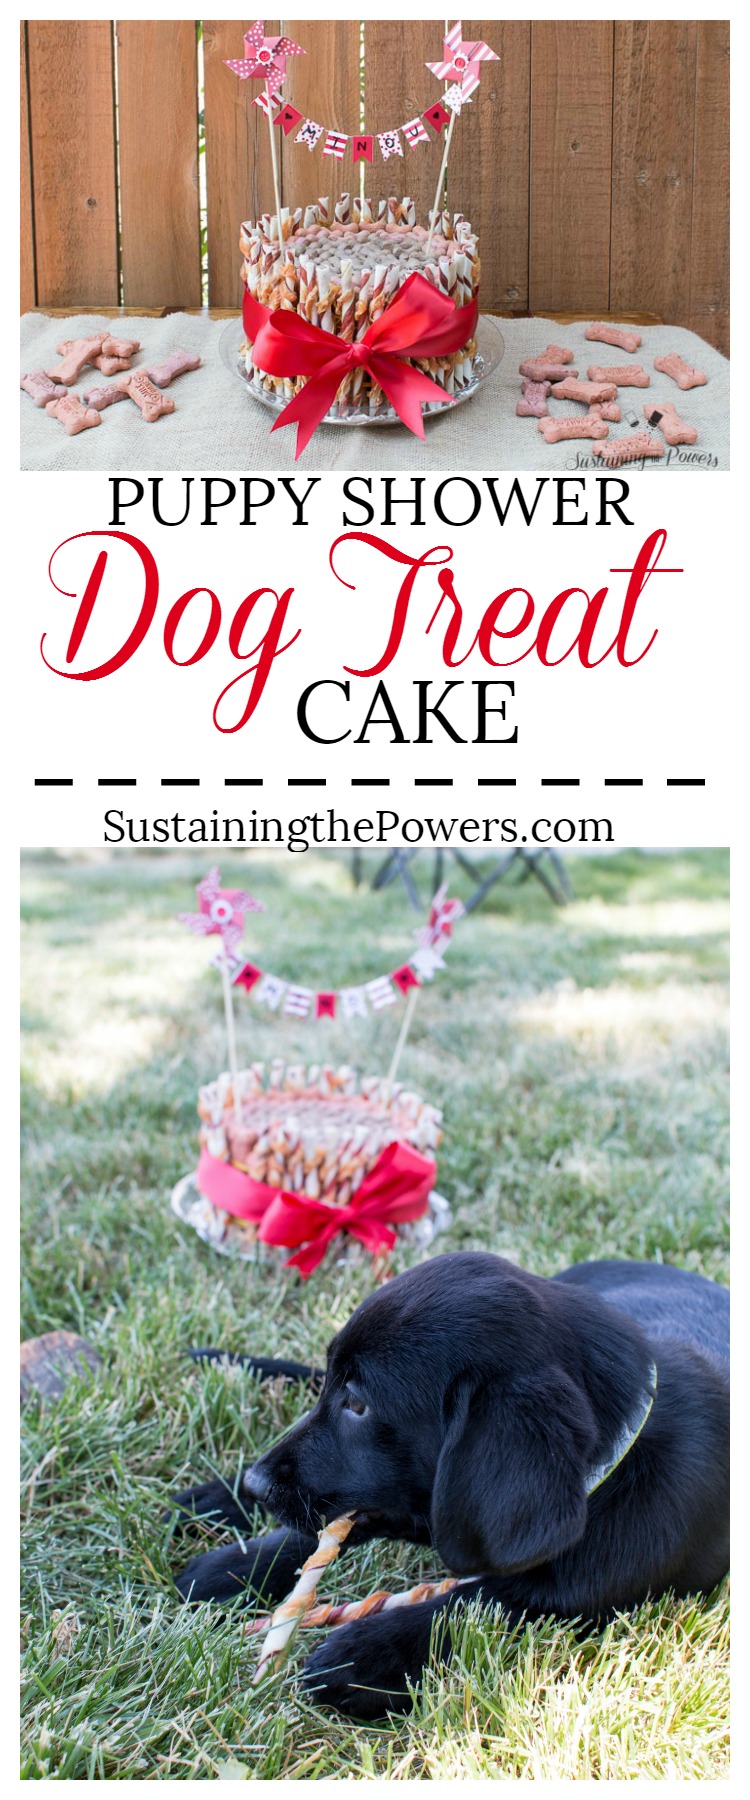
This Dog Treat Cake is perfect for a puppy shower or your dog’s birthday party! (In case it’s not obvious, today’s “recipe” is for your fur child and not for human consumption.)
Exciting times are happening in the Powers household. Our next door neighbors just got a brand new lab puppy! This means that I get to puppy sit during the day while her parents are at work, but we don’t have the responsibilities of owning a puppy full time. It’s kind of like how it’s best to know someone who owns a boat or a pool, but not to own one yourself. Haha.
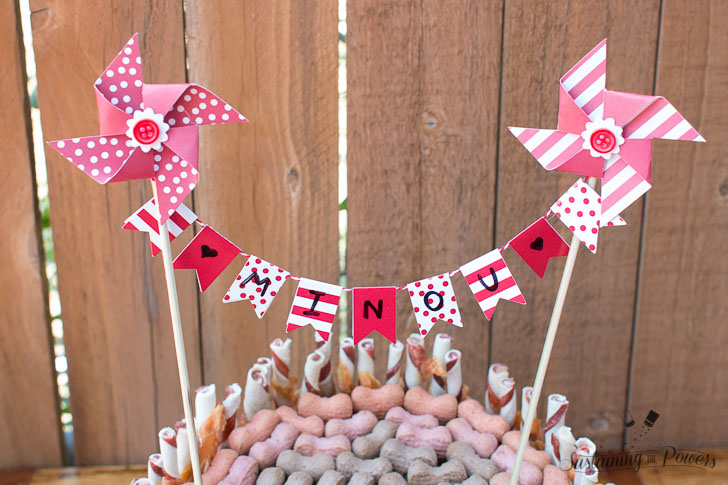
The puppy’s name is Minou (pronounced “me-new”) which is actually French for kitten. Her new mom has always been strictly a cat lady, so this was the compromise that she and her hubby came up with so she could still own all cats. I think it’s adorable! Minou came home last week so they threw a “puppy shower” over the weekend to welcome her home and introduce her to everyone all at once.
This was the first I’d heard of a puppy shower, but apparently it’s a real thing and the idea is to socialize the new puppy, have them meet other dogs, and sometimes people register and ask for puppy care items much like you would at a baby shower or a bridal shower. I kind of think puppy showers might be my new favorite thing because who doesn’t love playing with a 9 week old puppy!
 Our neighbors didn’t ask for gifts, but I really wanted to make something special to take over to Minou. My usual go-to for baby showers is a diaper or onesie cake, so I really wanted to adapt the “diaper cake” idea for a puppy shower! Pinterest had some good ideas for actual cakes with ingredients that dogs can eat, but I really wanted a cake that didn’t have to be eaten all at once right away. So I made my way to the store and spent a good half hour in the dog treat aisle trying to figure out what I could use to build this dog treat cake.
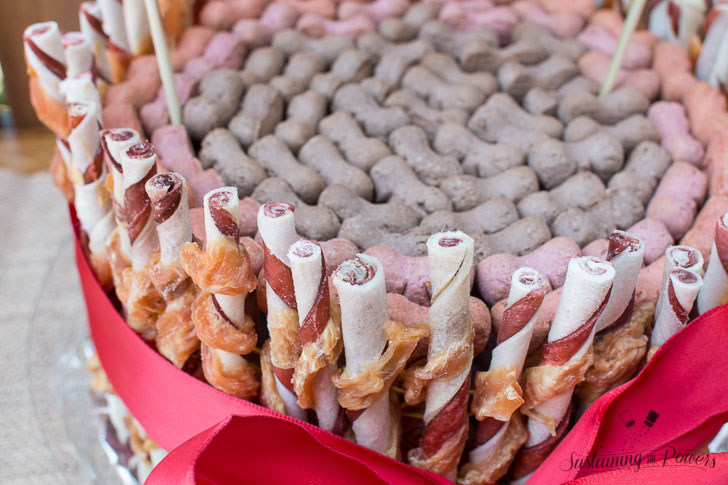
In the end, I was inspired by these rawhide chews because they reminded me of the pirouette cakes that are popular over on Pinterest. So I brought them home along with a gigantic box of dog treats and Hubby and I got to work figuring out how to engineer them into something that resembled a cake! (If you’re ever asked how many engineers it takes to design a puppy cake, the answer is two. 😉 ) I strongly recommend you get someone to help you with the construction of your cake because 4 hands were super useful to get the treats tucked into the pan and all tied up with string so they’d stay together.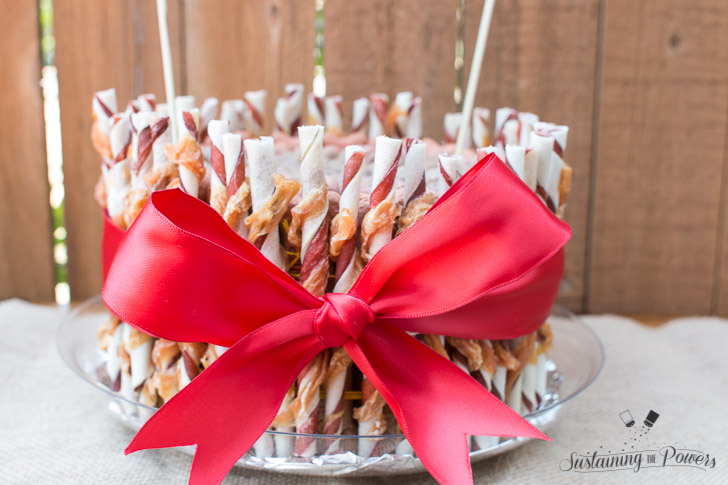
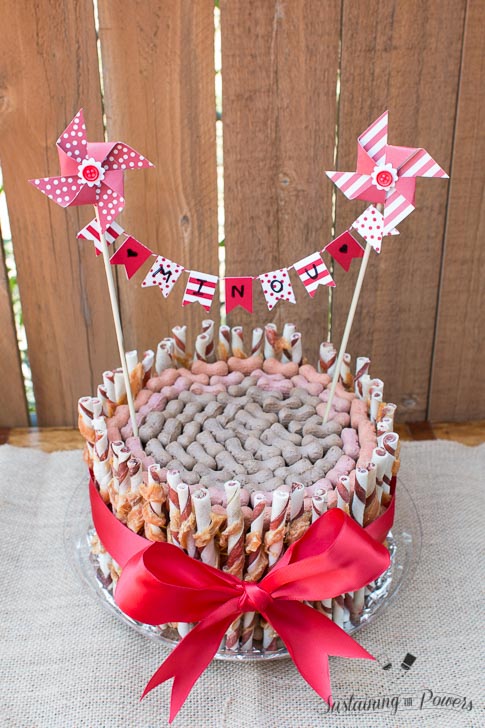
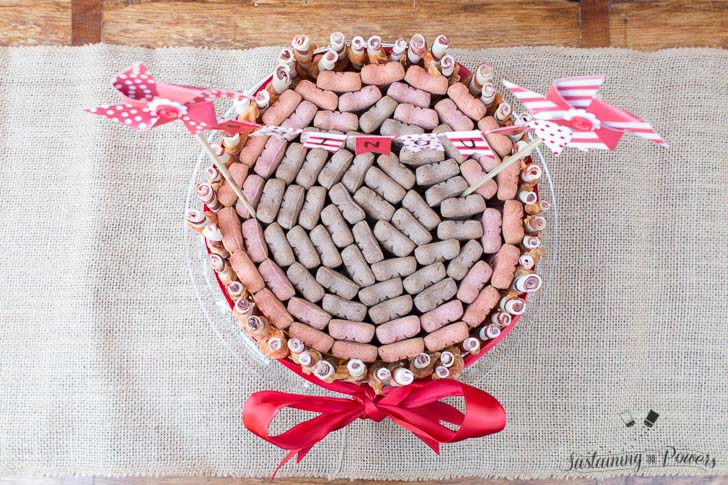
We tried a few construction methods, but the one that worked best in the end was to use an 8 inch round cake pan, tip it at an angle and fill it with the mini dog biscuits stood on end until it was totally full, and then invert it onto a cutting board. Then one person lifted the pan halfway off the biscuits and the second person wrapped them around the middle with string and tied it tight to make a solid layer. The added benefit was that we were able to arrange them by color and make a pretty mosaic for the top layer of the dog treat cake. So many possibilities!
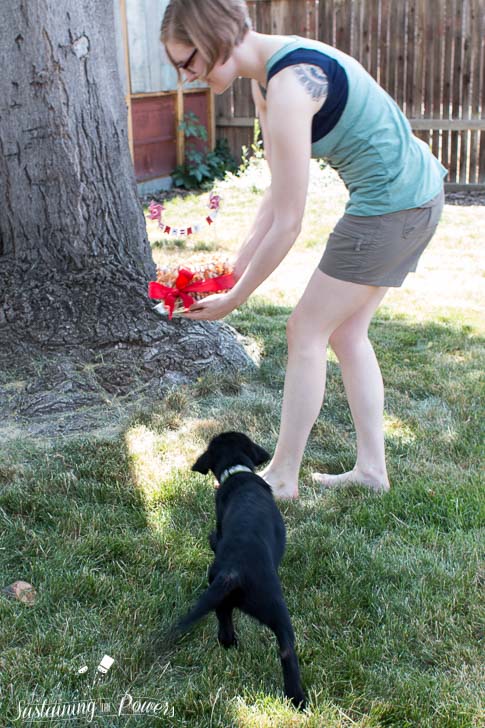
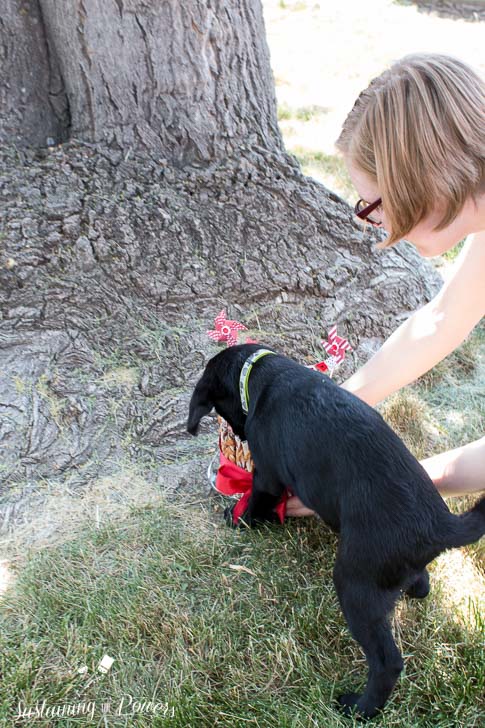
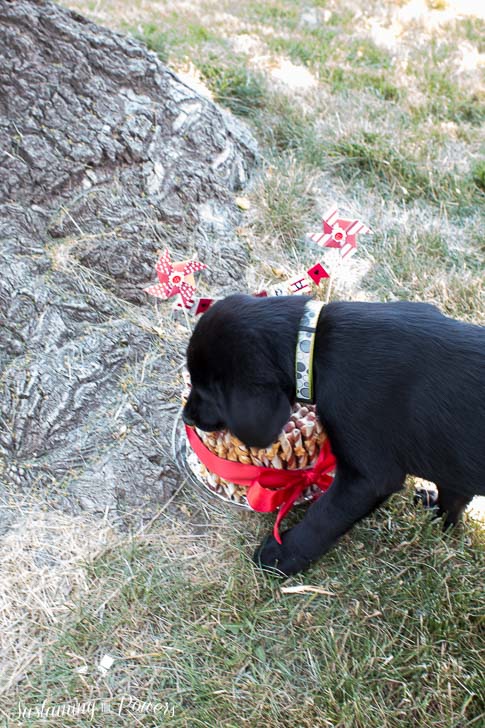
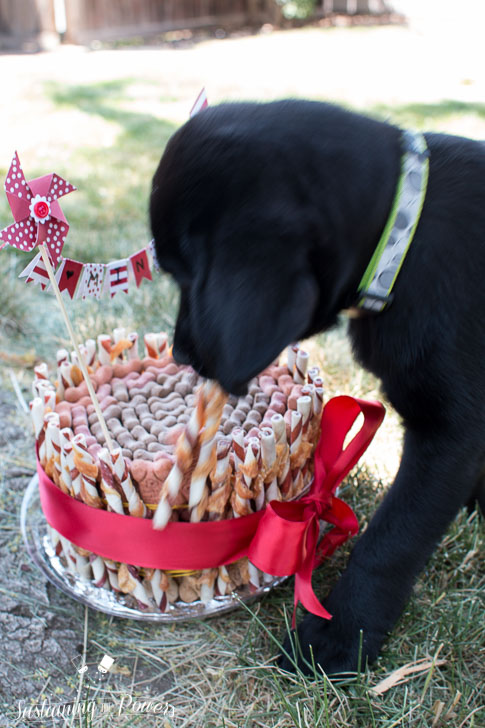
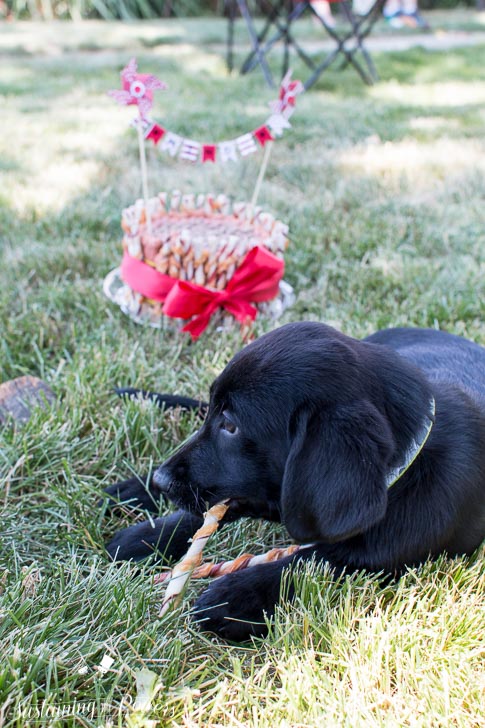
We made two of these “cake” layers, stacked them on top of each other, and then started lining the rawhide chews up around the outside. Hubby held a string wrapped around the cake so I could tuck these in behind it and keep them standing up. A giant rubber band or a loop of elastic would also help hold these in place while you surround the “cake” with chew sticks. After it was surrounded, I wrapped the middle tightly with string and then wrapped it with some decorative ribbon, tied a bow, and added a bit of bunting tied to kebab sticks. Voila! Minou loved it! (So much in fact that she’s a bit of a blur in these photos as she runs over to devour it.)

Dog Treat Cake
- Prep Time: 20
- Total Time: 20 minutes
Ingredients
Supplies
- 40–50 rawhide chew sticks
- 1 60 oz box small dog biscuits
- 4 yards string
- plate or tray for the base
- 8 inch cake pan or spring form pan
- 2 feet elastic cording or a giant rubber band
- 1 yard wide ribbon
- 2 wooden kebab sticks
- bunting
Instructions
- Tilt the cake pan at an angle and place the dog biscuits on end in the pan until it’s completely packed. (Getting creative with color patterns is optional.)
- Invert the biscuit “cake” onto a cutting board or a plate (or release the springform pan) and lift the metal pan halfway off. Have a second person tightly wrap the dog biscuit “cake” with string and tie it tightly to secure the layer before removing the pan completely.
- Repeat the process to create a second layer of dog biscuits.
- Carefully stack the two layers on top of each other on your plate or tray.
- Tie a loop of elastic around the “cake” layers and use it to help hold up the rawhide sticks as you place them on end around the dog biscuits (see photos for reference.)
- Wrap and tie them with string.
- Wrap and tie the “cake” with decorative ribbon and top with bunting.
- Share with your favorite furry friend and enjoy!
Notes
- This is probably obvious, but don’t feed your puppy the entire cakes worth of treats in one sitting and you may want to remove the decoration if you’re going to let them eat the cake. 🙂

Leave a Reply